14 February 2024
This adventure is tide dependent. The tidal range in the Severn Estuary / Bristol Channel at 12-14 metres is the second greatest in the World. The causeway out to Worm’s Head is passable only approximately 2.5 hours each side of low tide. The currents in the area are extremely strong and attempts to swim would usually prove to be fatal. Obviously outside the summer months, the times available to walk to the head are less given the shorter hours of daylight. Moreover, weather conditions including wind and rain are more likely to have an adverse impact. I’d taken this into account and had a window of three potential days to make my crossing. In the end I chose the day of these three when there were the most hours of daylight available at the time the tide was low and the weather (wind and rain) looked acceptable. Unfortunately, what I hadn’t thought about was mist and fog. As I drove through South Wales and to the distant tip of the Gower Peninsula, the poor visibility seemed to be the chief problem liable to impact on my proposed adventure.
This was a very overdue expedition. I had first seen the Worm’s Head about fifty years ago and had been told very firmly by my parents that we were not going to try to walk to it.
My aim was to arrive at the start of the rocky tidal causeway at 1pm, 2.5 hours before predicted low tide and hence maximising my safe time window. I didn’t want my adventure to be ruined by unexpected traffic problems so I arrived at the National Trust car park just before 10.30am. This gave me just over a couple of hours to explore the area before heading off along the coast path to the starting point of the causeway. I was surprised that despite the very damp and misty conditions there were already quite a number of cars in the car park.
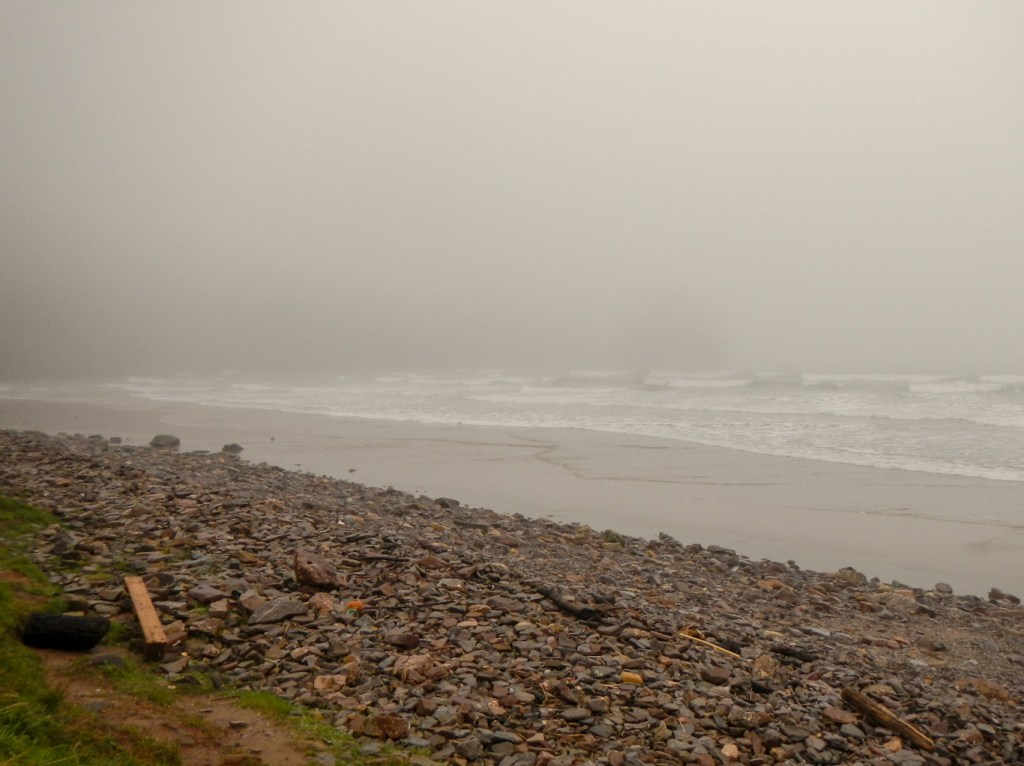
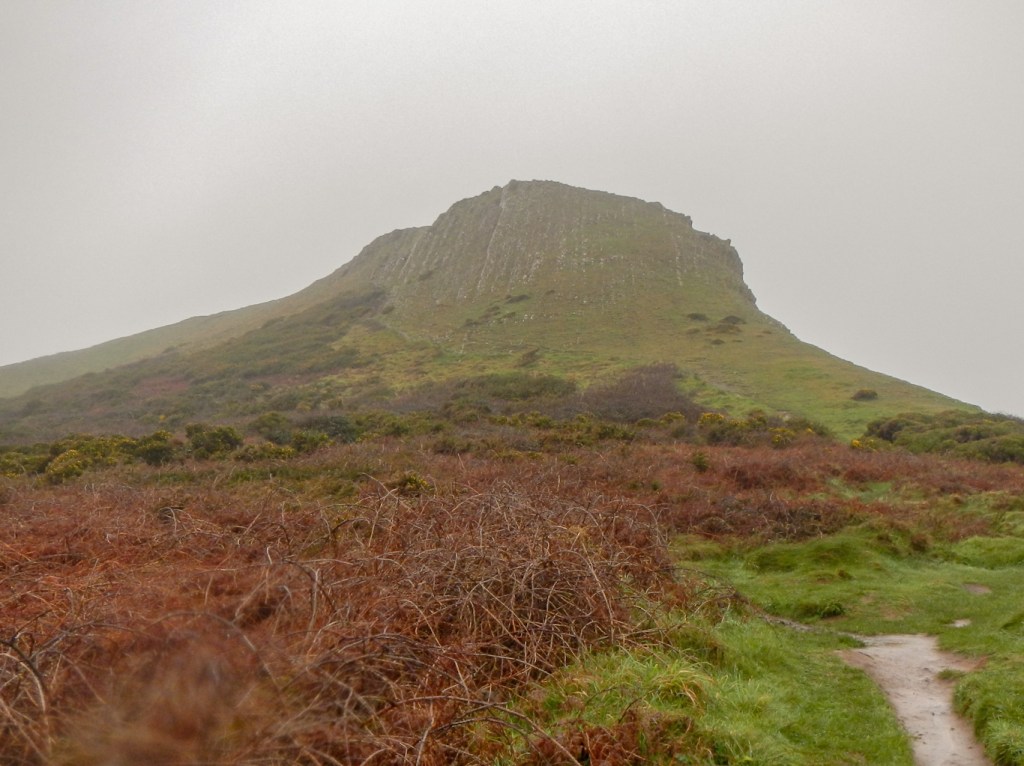
As an aperitif I enjoyed a walk in mist and intermittent drizzle over soggy terrain down to the beach, then along a path below the cliffs to the Hillend campsite. I climbed up the steep hill to a burnt mound and then proceeded further uphill along the ridge of Rhossili Down. There would have been magnificent views both over the huge expanse of the bay and inland over the peninsula. However the penetrating mizzle continued accompanied by wind. Soon I reached a trig point. Standing at 193m, this is the highest point on the Gower and is the site of a Bronze Age cairn.

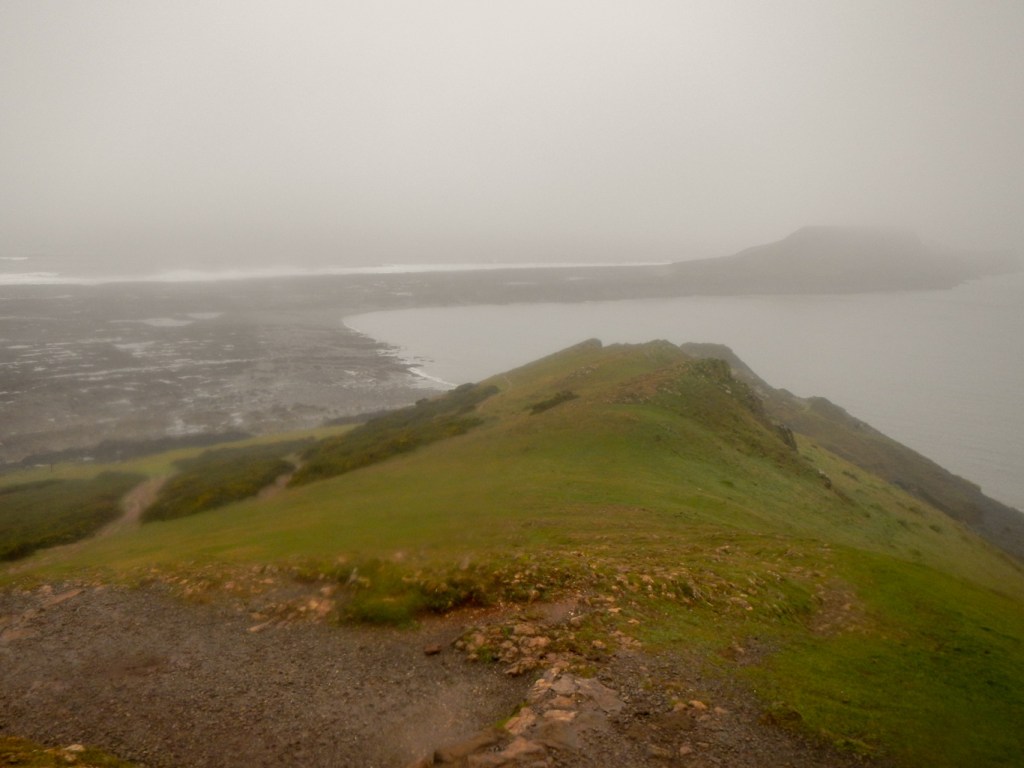
I descended back to the car park, passing the medieval church. There was time to shelter in my car to eat my sandwiches before taking the coast path towards the lookout station, manned by volunteers from the National Coastwatch Institution. I saw the lookout volunteer keeping watch across the causeway, which was being uncovered with the falling tide. Given the weather conditions, I was anxious that if I popped in to say hello they might dissuade me from making the crossing; hence I walked on, descending steps towards the start of the causeway. I was, however, ready to turn back if I encountered major difficulties or liable to run out of time.
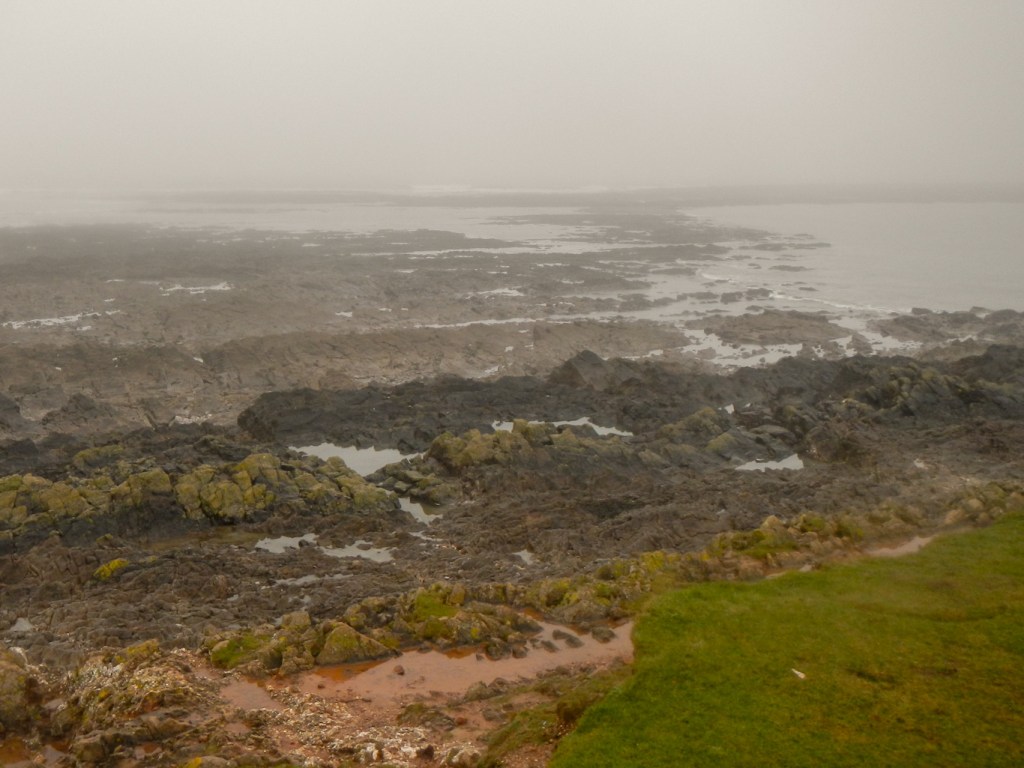
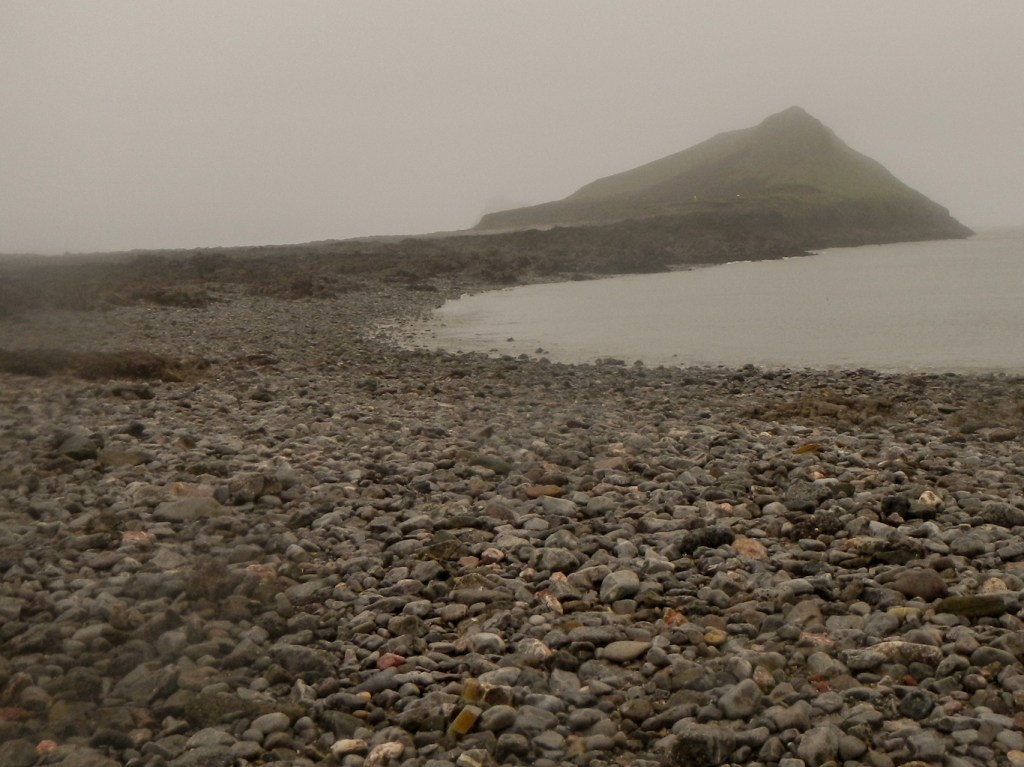
The descent down to the rocks was straightforward but then the fun began as I crossed the first few rocks perpendicular to their folds. When I reached the end of this difficult bit, I noticed a couple of people following my descent but they appeared to turn back before long. The rocks weren’t slippery, which was a relief. I kept a line to the north side of the causeway as advised in several on-line accounts of the adventure. The entire causeway to the islands was uncovered and beginning to look passable. With the help of my trekking poles, it was fairly easy to stroll over the mussel and limpet covered rocks. I paddled through some small pools, my boots and gaiters doing their job well so my socks and feet remained dry.
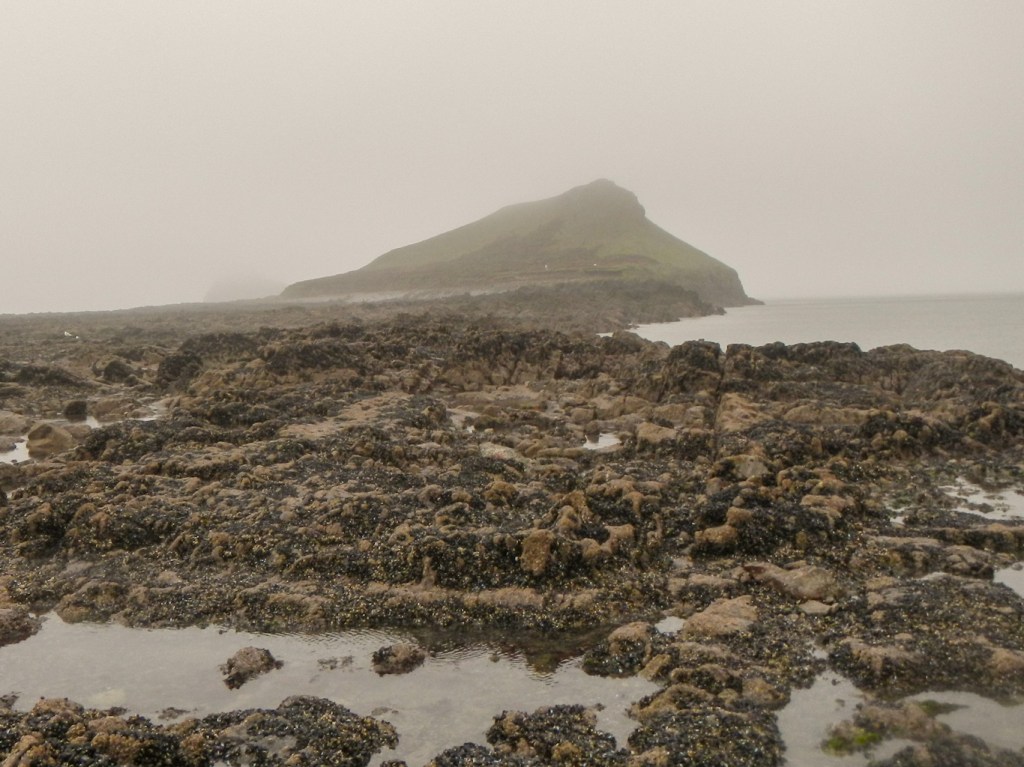
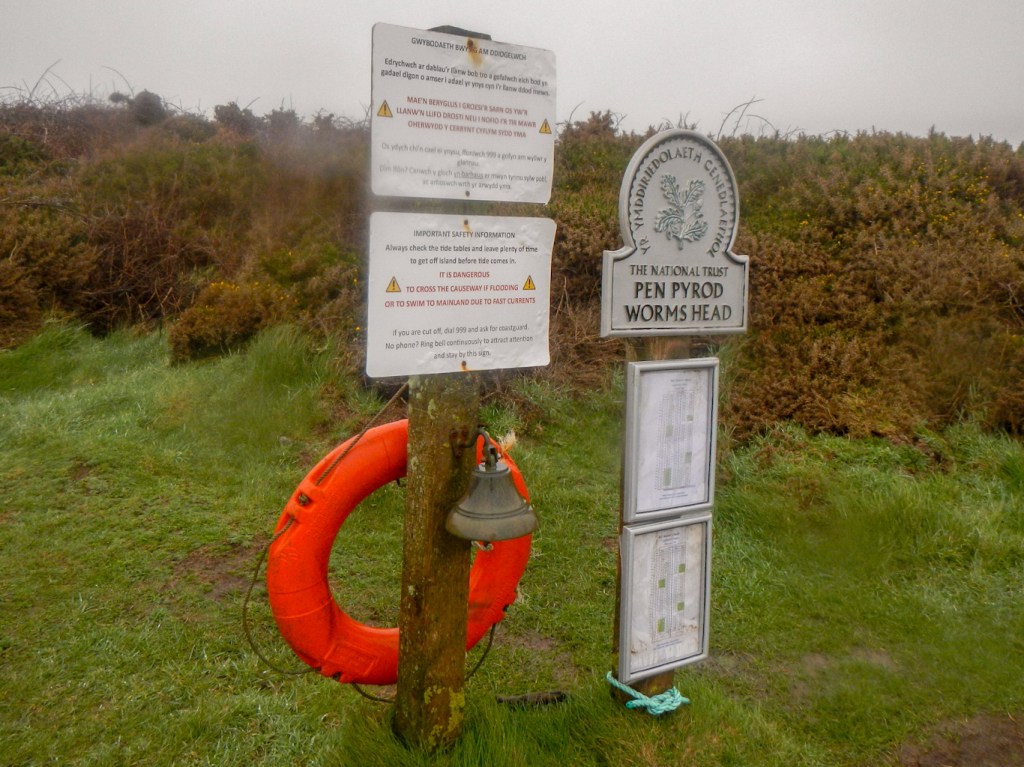
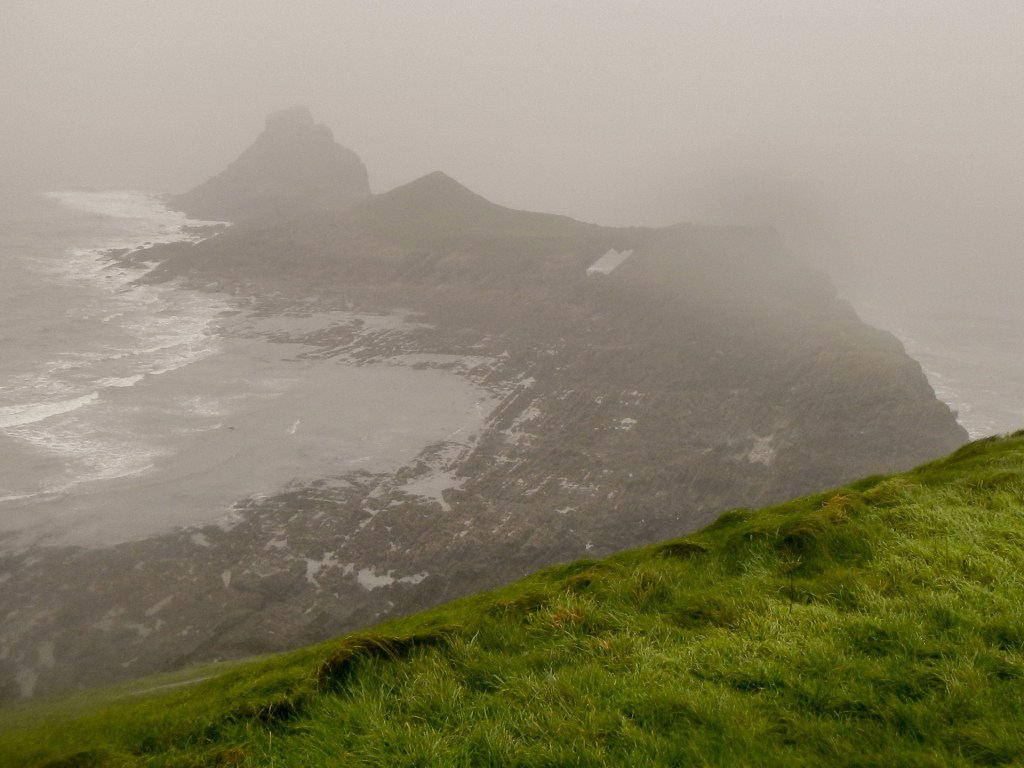
Before long, I had reached grassy ground – the Inner Head. The name Worm’s Head is derived from an Old English word ‘wyrm’ for ‘sea serpent’, describing the appearance of the geological feature. The headland of carboniferous limestone comprises three islands and my aim was to reach the Outer Head (third island). As I stepped “ashore”, I couldn’t miss seeing another notice detailing the tide times, as well as a bell to use if stuck on island at the incoming tide. I had already decided that I would turn round after two hours; that would mean getting back to the Lookout Station by 5pm if the return walk and scramble took the same time as the outward. I would also have a spare hour before the causeway was predicted to be impassable around 6pm, although, of course, darkness would be descending (I had a head torch in my rucksack).
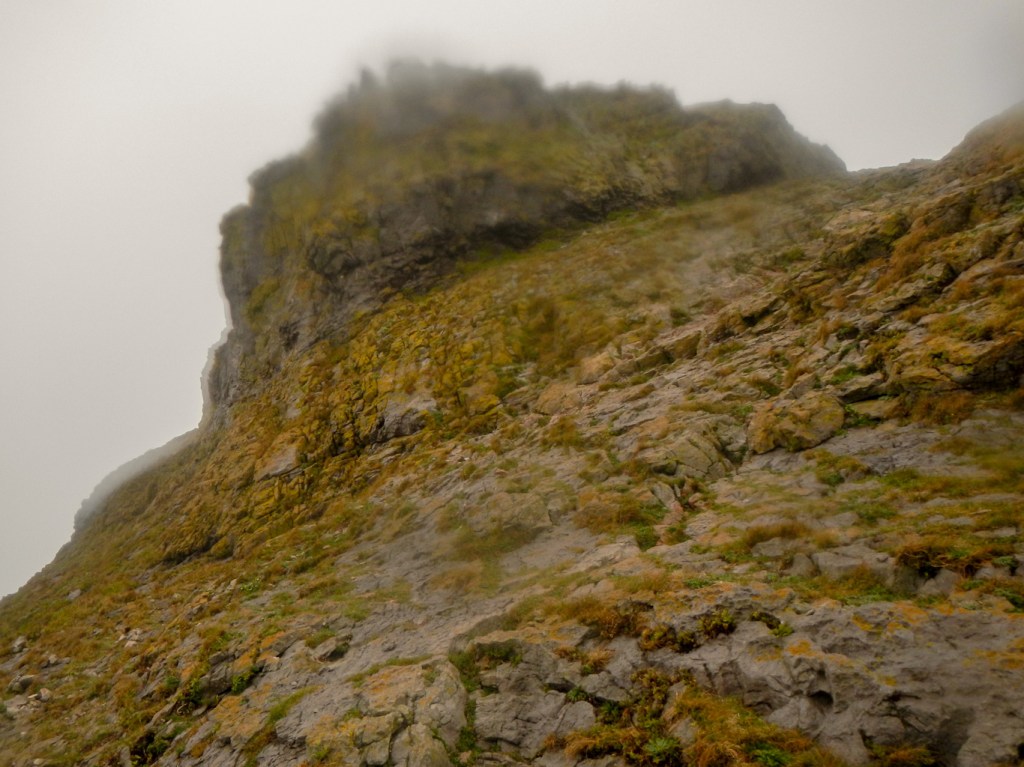
I followed the steep path that ascends the Inner Head, followed by a short length of ridge. There was even a view of sorts from the summit, the best view I had seen all day.
I descended towards the far end of the flatter southerly path. Ahead of me was the Low Neck. The Neck is only about 100m in length but the scramble over the folded rocks was the most difficult part of the entire expedition. Fortunately the rocks weren’t slippery, although given the potential consequences of a slip here, I was careful as I didn’t want to take chances. Just to make things more difficult, it had started raining – definite rain rather than the earlier mist and drizzle. I was tempted to turn back, but I could see that I still had plenty of time so continued a step at a time. Moreover it really didn’t look very far. Suffice to say I was very relieved to reach the grassy land.
The Devil’s Bridge (rock arch) was the next challenge. The hole looked impressive. Fortunately the path over the top was wide enough for me not to feel totally exposed, but clearly it was important to avoid tripping at this point. I made it! Of course that meant that I also had to traverse the bridge again on the way back to return to Rhossili.

There was a further, thankfully short, crossing over folded rocks to reach the Outer Head. This is an important area for seabird nesting so access to this section is off limits between 1st March and 31st August. There were a number of seabirds flying around but none seemed perturbed by my presence or trying to defend nest sites in the middle of February. I saw a few caves in the cliffs below me. I followed a grassy path until it ended at the foot of a rocky section. I decided not to take on the scramble to the summit of the Outer Head. Even though the rain had eased, any view would have been poor and it looked as though the scramble was quite exposed. I was aware that, if I fell, the possibility of rescue would have been limited. As far as I had seen there wasn’t anyone other than me who had crossed the causeway on that low tide.
It had taken me just over an hour and a half to reach this point so I was well within time for a safe return before the causeway would be under water.
I re-crossed the Devil’s Bridge and spotted a path down towards the archway; this turned out to be a good vantage point for a photo. With some trepidation I reached the point to cross the difficult folded rocks to return to the Inner Head.

Actually my return clamber turned out to be much easier as I had a better vantage point from that direction to spot the easiest line ahead of me. There wasn’t any need to ascend to the summit of the Inner Head again and I followed the easier path along the south coast.
I reached the alarm bell and descended to the causeway. The area of dry land was much greater than when I had made my initial crossing. It was close to low tide time. I was fortunate and managed to pick an easier return route to the mainland. Despite diverting to take photos of the arch and Devil’s Bridge, my return trek had taken less time than the outward journey; it wasn’t quite 4pm.
I climbed the steps to the lookout station. I visited this time to say “hello” and to thank the volunteers for looking out. In fact they were surprised that I had been out to the Head; their view of the causeway had been quite poor for most of the afternoon so they hadn’t spotted me. I reassured them that I didn’t think there was anyone else out there.
I had been incredibly lucky to have the “Worm” to myself. The watchkeepers informed me that in the summer a few hundred people go over each day, forming a queue at the more difficult parts of the route. They explained that about 5,000 people daily visit the Rhossili area on a typical summer day!
They even told me that next time I wanted to go there, they could give me tide predictions for any day to the end of the year if I phoned them to ask! An amazingly helpful service. Having returned home, I was delighted to see online that the team had enjoyed a very special day only five days before my visit, when HRH The Princess Royal, as Royal Patron of the National Coastwatch Institution (NCI), visited them.

Despite the poor weather, I had a fabulous adventure walking and scrambling out to the Worm’s Head. I thoroughly recommend it – but it is essential to take care with the tides and allow plenty of time. I would strongly advise starting the walk just as the causeway has cleared, hence maximising the time available just in case it takes longer than expected.

Loved reading about Worm’s Head. Thanks for taking us along!
LikeLike